

…
Hello, Bombshell…
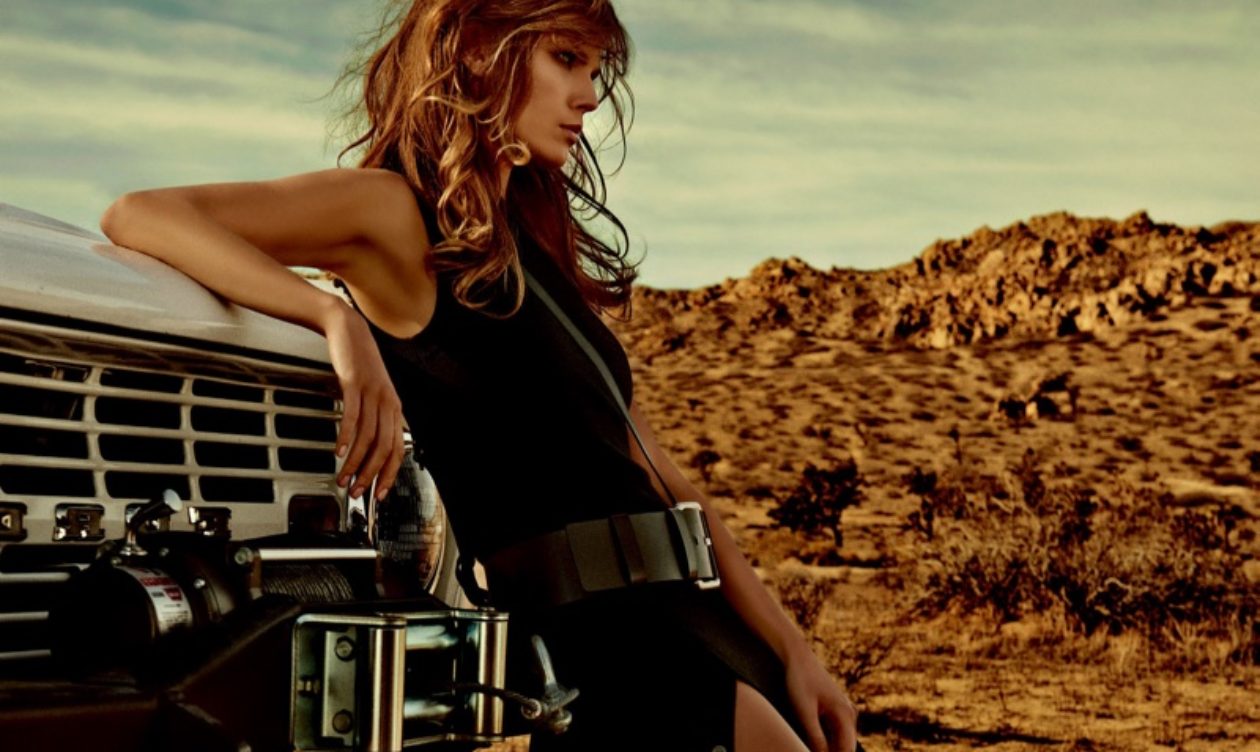
What exactly is a Bombshell, you ask? The definition will tell you its an outrageously &/or exotically attractive female. One whom may make you tingle and look back twice. In other words, a goddess.
I’LL tell you that it is simply a way of life. It’s provocative. Unapologetic. Fierce. It’s in your face confidence. Its owning who you are & what you do. Its attacking life to reach your goals to create your empire.

It’s POWER.
The power of being whoever you want to be, regardless of who everything else thinks you should be.
But this is where it gets tricky. You see, one cannot just simply possess those qualities. Because Bombshells must exude them.
You know instantly when you’re around one. Their tenacity for life radiates from them. In their smile. In their determined well practiced strut- even if she’s only going to the grocery store.

On this page, you will find a random collection of cant-live-without beauty products, new and old. All Bombshell tested and approved.
Makeup trends well researched, reviewed, shared and updated regularly by yours truly. Links for all recommended products are posted to help you achieve these looks.
Your feedback and comments are encouraged as you try these- YOU are what this is about. Doesn’t it feel nice to hear that?
Because the most important rule in the Bombshell Bible is to do whatever makes you feel good.
So grab your laptop, lounge like a queen, and get ready to get educated.
X
Beauty Guide 2:
The Perfect Pout:
Going Glam With Red [Lips].
I never said it would be easy- I just said it would be worth it.

Glam Queens rejoice- red lip season is back. I know, I know- for some of us, it never left (guilty!). But with cooler weather comes the freedom of wearing more dramatic looks without judgement. And a LOT less maintenance- have you ever tried to keep your smokey eye looking fresh in 100+ degree heat? I should be able to list that as a skill on my resume at this point.
But back to the good stuff.
I get asked a lot about my choice on red lipstick. Or more so, on my ability to pull it off. I often hear things like:
“Red makes me look so washed out…”
Or, “Its so messy- I cant even deal with it…”.
And so I think its time to share my secrets to one of my own personal favorite looks. I will, however, be totally honest with you first. Red lipstick was never, and will never be a shade one just simply applies. There are steps required to pull it off. ALL day. But I WILL promise you that the outcome will make it all totally worth it.
So get ready- cause you’re about to get schooled.
STEP 1: Choosing a Shade
Like most lipstick shades, most of this is based on skin tone. First, you’ll need to determine whether you have warm or cool undertones. This will then determine what undertones you’ll need to look for in your lipstick. If you’re warm, you’ll need a red with yellow or orange undertones. If you’re cool, look for reds with a blue or pink undertone.
OR- try MAC’s Ruby Woo. This shade claims to be universally flattering on anyone who wears it.
My own personal favorite is also by MAC- Russian Red. If you buy the Lip Glass, you literally need just a few well placed dots on your top and bottom lip. Then use your finger to fill in the rest. The color is so bold and bright that a little will go a long, long way. And using your finger gives your lips more of a stained, casual look- which is perfect for work.
STEP 2: Exfoliate Your Lips
Sugar scrubs are the answer for this. I recently picked one up at Victoria’s Secret that I LOVE. To use, just take a small dap with your finger, and apply to lips. Lightly “scrub” and blot away any extra sugar. If this isn’t something you already regularly do, you’ll be amazed at how soft your lips become. This is especially crucial during the winter months where chapped lips are common. Eliminating dry skin also leaves the perfect surface for applying lipstick and prevents color from looking cracked/caked. Apply a VERY LIGHT layer of moisturizer after to keep them soft.
STEP 3: Apply Powder
If there was ever a secret weapon for red lipstick, powder is it. A light dusting of a clear powder (I prefer using one by Nars, shown below) helps even out lips, AND makes all the difference in how long your pout is going to last. But don’t put it away yet- you’ll use this one more time before we’re done. See- I told you there was some work involved. Stay with me!

STEP 4: Line Your Lips
The jury is still out on this one. Red pencil, or clear? I’ve used both and my theory is this-
Clear for day. Red for night.
The point is you have to do it. Red lips are notorious for bleeding- the main reason many people avoid them. And the only to stop that is by lining your lips. Using a clear pencil keeps the look less structured, and more like you just swiped some lipstick. But believe me girl- we know you worked for it. Using a red pencil though gives you more drama. More definition. More COLOR. Plus, you can fill your ENTIRE lip in with it- this will help the color stay on longer. Double score. As you may have guessed, I prefer red. But I usually leave it up to the situation to determine how bold I want to go. Try Brick by MAC.
STEP 5: Apply Lipstick
I know, right? All this work and we’re only now actually putting on our lipstick. But for damn good reason. So- go ahead. Color in your pout. If you’re using tubed lipstick, then using a angled brush is best as it gives you more control- especially in the corners of your mouth. If you’re using a gloss or stain, apply just in the center of your upper and lower lips, and use your finger to spread it out evenly. Less is more as you can always add another coat.
STEP 6: Blot
Lightly! But even more importantly- stick your finger in your mouth. No, really. Like you’re licking your finger. This helpful little trick will remove any extra lipstick that WILL eventually end up on your teeth. And trust me- no one can pull that tragic look off, no matter what color you’re wearing.
STEP 7: Apply One More Layer of Powder (Optional)
If you’re wearing a gloss, skip this step. If you’re wearing anything else, add one more coat of a translucent powder to set your color. LIGHTLY! No need to go heavy with this.
STEP 8: Moisturize
I personally feel red is the most drying to my lips. As a result, I always add a VERY light top coat of Carmex to help keep my lips hydrated. This is especially useful with anything that has a matte or stain finish.
STEP 9: Take Over The World
Well, not really. But you’ll feel like you can! Seriously. There’s something special about the power a red lip gives you. Because of its bold nature, it automatically gives off the impression of confidence. And by following these steps, you actually WILL be confident with your color.
And just in case you feel a little overwhelmed (understandably), here’s a fun little guide to visualize the process. It also makes it seem a LOT less tedious…

And with that, you should now have a pout so perfectly placed, even the makeup Gods are envious. And by all means- feel free to share what you learned. Because NO ONE deserves to walk around with bad lipstick.
#BombshellCode
And see- just as I promised, it was all worth it.
Till next time…
X
Thanks Libby for the tips. I will definitely have to try the MAC foundation ❤️
You will LOVE it- and remember, a little goes a long way. We’re talking a dime size squeeze on the back f your hand to warm it up. Then I use a small stipple brush to apply. Its magic! 🙂